‘Settembrini’ fig biscuits
Here are some delicious biscuits to make at home during September, the month when one finds ‘settembrini’ figs, so sweet and succulent that they melt in your mouth. You may be really lucky and have a wonderful fig tree in the garden packed full of ripe fruit, or, if not, maybe on the way to the market this morning you’ll come across a fantastic basket of tempting, mature, sweet figs. How could you resist? What better opportunity to create these extraordinary biscuits filled with fig jam? Homemade pastry, a little fig jam, and you're done: tomorrow at breakfast you’ll have ‘settembrini’ fig biscuits with milk for everyone. Both children and adults will be delighted, especially those who have tried the commercial variety and want to make these little works of confectionary art at home!
Ingredients

Send the recipe
Preparation
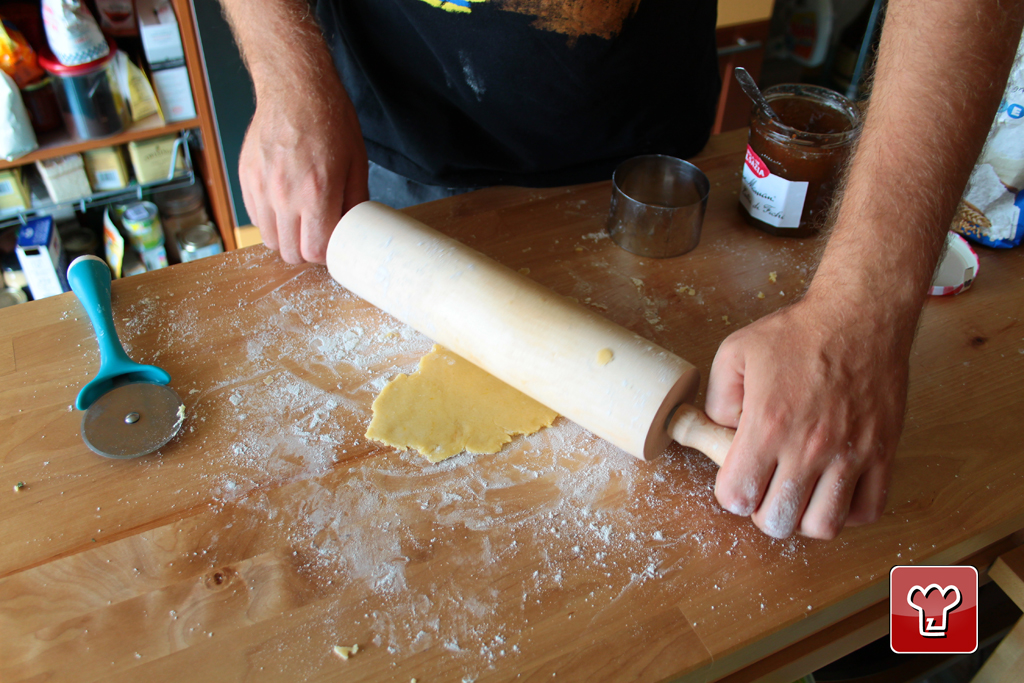
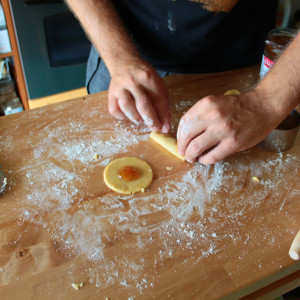
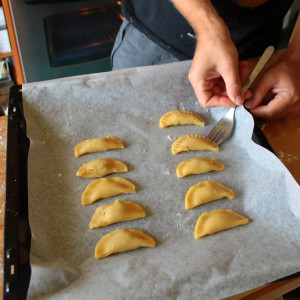
Prepare the shortcrust pastry following the basic recipe. Roll out with a rolling pin on a floured work surface and with a pastry cutter cut out pastry circles. Put a teaspoon of jam in the centre of each pastry circle and then fold over and seal the edges. Once all the biscuits are made, arrange them on a baking sheet and cook in oven at 180°C for 30 min.
Step by step
|
View the step by step
|
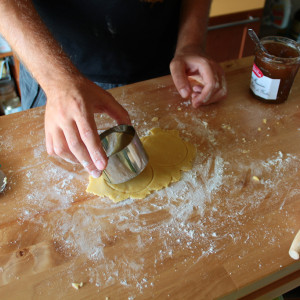
Cut out pastry circles
|
|
View the step by step
|
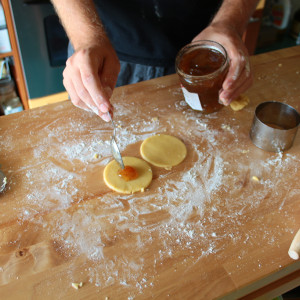
Fill the pastry circles with a little jam
|
|
View the step by step
|
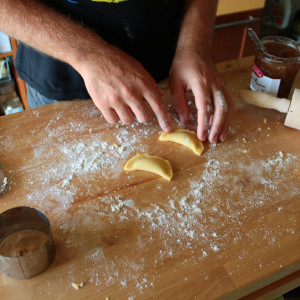
Fold over each half-moon shape and seal the edges
|
|
View the step by step
|
Shape the biscuits with your fingertips so as to get a perfect half-moon shape
|
|
View the step by step
|
Put all the biscuits on a baking tray and bake at 180°C
|
|
View the step by step
|
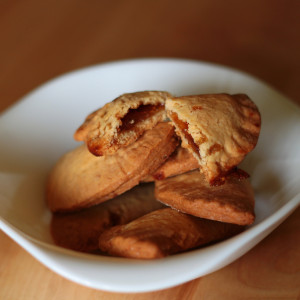
Here are the settembrini fig biscuits, lovely and sweet!
|
