Chocolate mousse
There are some especially tasty foods that seem to be suitable at any time of the year, always treating you to wonderful sensations, but above all satisfying the palate in a unique way. Such is the case with chocolate: this precious food can be transformed into a myriad of forms but always offering its unique and superlative taste. Today we’re going to show you a perfect recipe to entrance your friends, maybe during a lovely evening in the garden: namely, chocolate mousse which, once prepared, can be kept cool in the fridge ready to enliven a convivial evening as and when you need it. If you want to, you could also enrich your chocolate mousse with whipped cream, perhaps with a sprinkling of cinnamon or cocoa, and eat it together with a good quality biscuit: are you ready to make one of the most delicious and inviting of desserts?
Ingredients

Send the recipe
Preparation
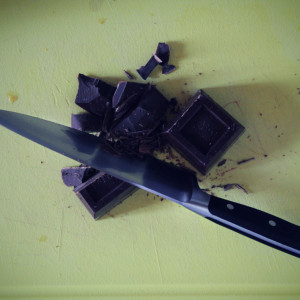
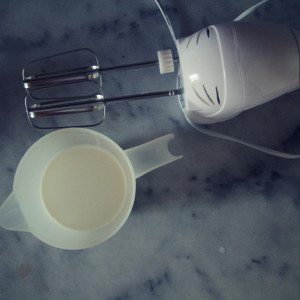
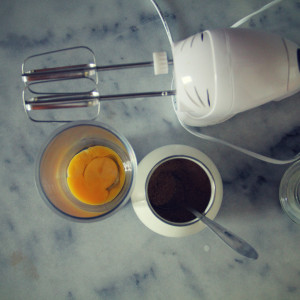
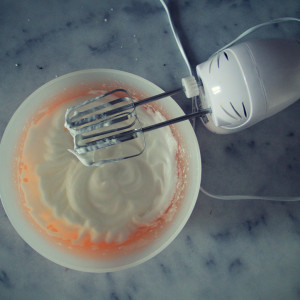
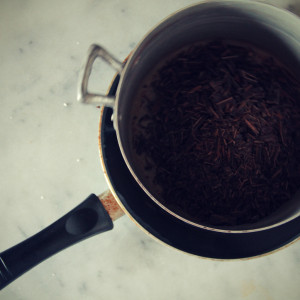
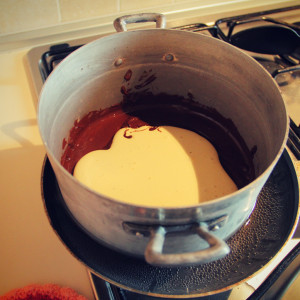
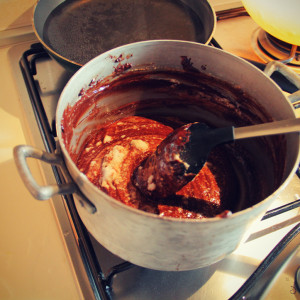
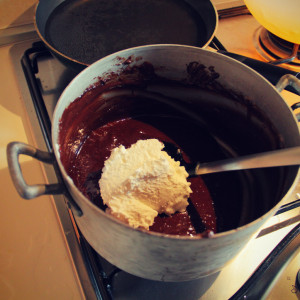
Break the chocolate into flakes with a knife. Beat the egg whites until stiff and then beat the yolks with two tablespoons of brown sugar. Whip the cream until stiff with absolutely no sugar. Melt the chocolate in a bain-marie or in a bowl over a pan of simmering water, then turn off the heat and stir in the foamy yolks. Mix well, then fold in the egg whites, a tablespoon at a time, stirring in the same direction and incorporating as much air as possible. Then add the whipped cream a tablespoon at a time, as with the egg whites. Pour the mousse into single portion cups and cover with cling film, then let them rest in refrigerator for 4 hours.
Step by step
|
View the step by step
|
Break the chocolate into flakes with a knife
|
|
View the step by step
|
Whip the cream, using absolutely no sugar
|
|
View the step by step
|
Beat the egg yolks with sugar until it becomes frothy and clear
|
|
View the step by step
|
Beat the egg whites until stiff
|
|
View the step by step
|
Melt the chocolate in a bain-marie
|
|
View the step by step
|
Melt the chocolate in a bain-marie, then remove from the heat and incorporate the frothy egg yolks
|
|
View the step by step
|
Mix well, then fold in the egg whites one spoon at a time, always stirring in the same direction, and incorporating as much air as possible
|
|
View the step by step
|
Stir in the whipped cream one spoon at a time as with the egg whites
|
|
View the step by step
|
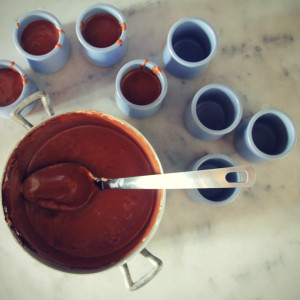
Pour the mousse into single portion dishes, cover with cling film and leave to rest in the fridge for 4 hours
|
|
View the step by step
|
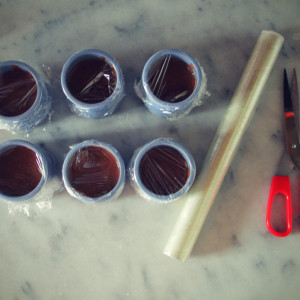
Cover with cling film and leave to rest in the fridge for 4 hours
|
|
View the step by step
|
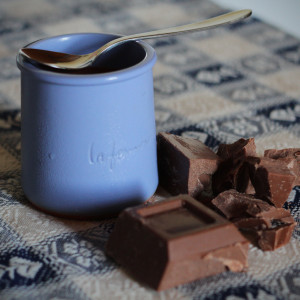
Your chocolate mousse is ready, traditional and delicious!
|


