Salt cod with olives and capers
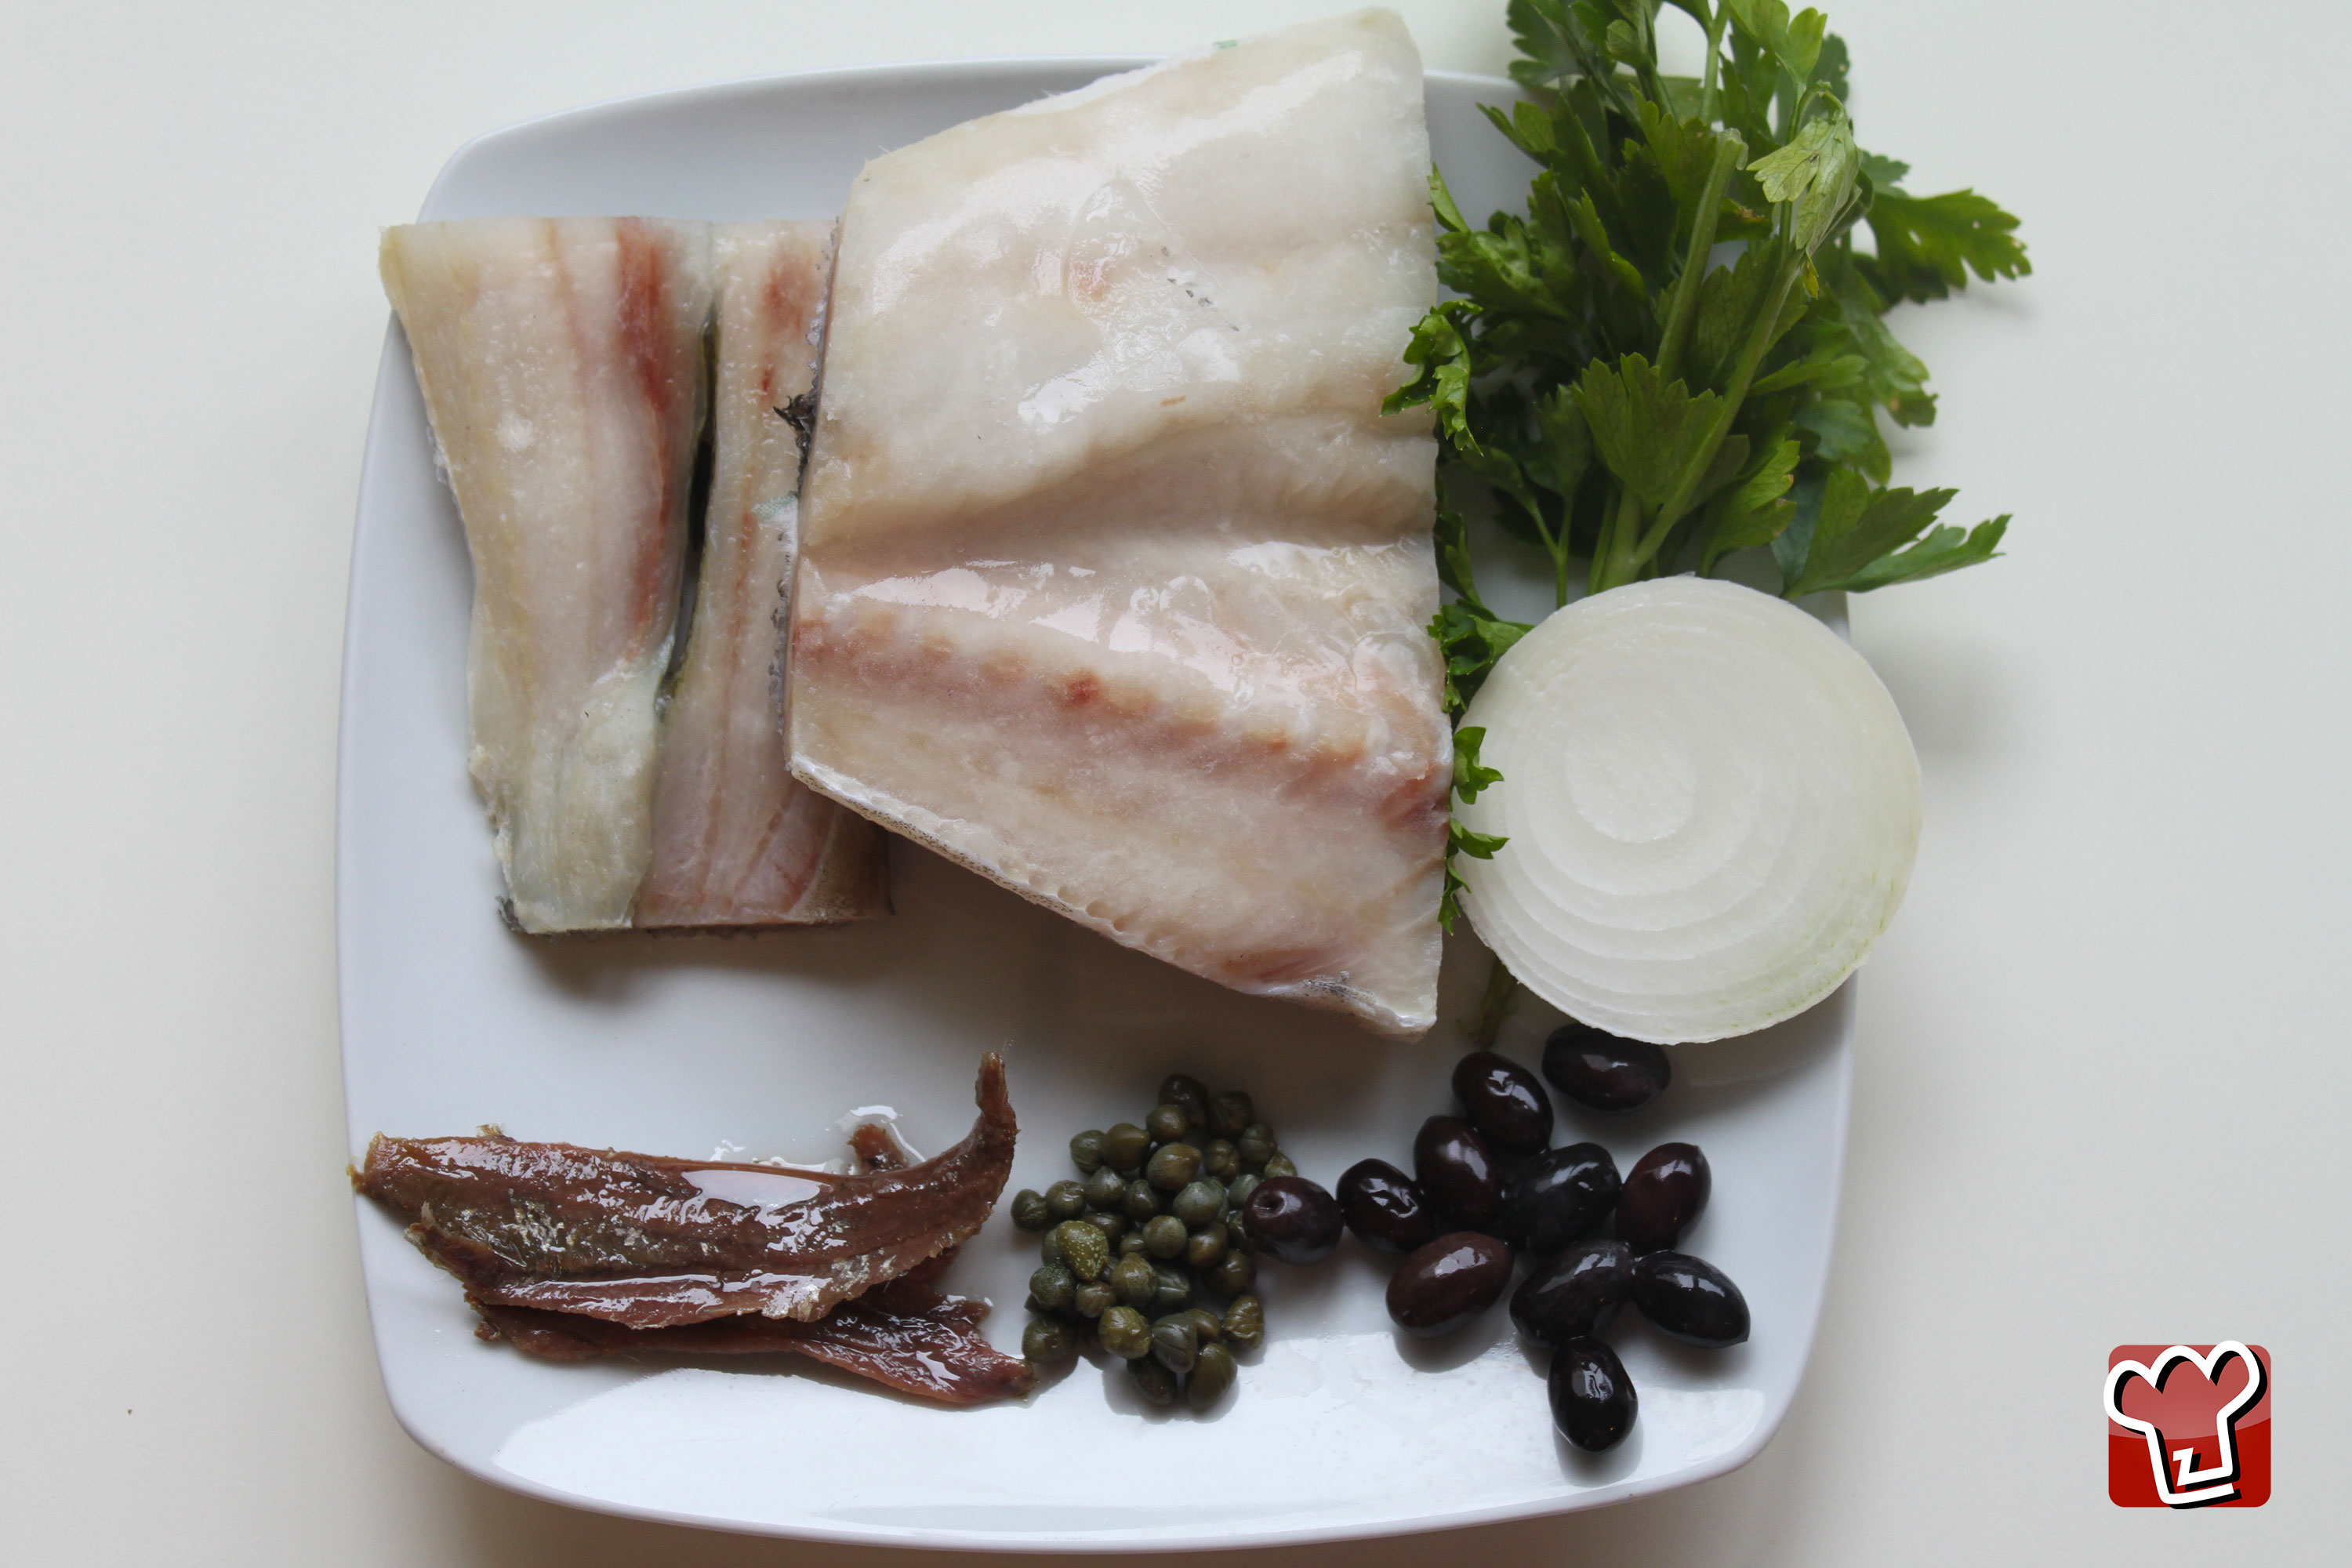
Cod is a fish from northern Europe that finds its place in the gastronomic traditions of many - if not all - Italian regions. Today I suggest a method of serving it which is both fast and very tasty. However, don't forget, if you are preparing salt cod, to leave it to soak in cold water for 72 hours beforehand. It doesn't take much more effort, thereafter, to make this recipe: who, after all, doesn't have a few capers and olives in the store cupboard practically all year round?
Ingredients
-
onions Quarter of a white onion
-
parsley A small bunch of fresh parsley
-
White wine Half a glass of white wine

Send the recipe
Preparation
Heat the anchovies and thinly sliced onion in a frying pan with a tablespoon of extra virgin olive oil. When the onion is completely softened and the anchovies are dissolved, stir well with a wooden spoon and add the pieces of salt cod. Let it absorb the flavours for 5 minutes per side. Pour a large glass of dry white wine into the pan, let it bubble away briefly, then remove the cod and set aside in a warm place. Add the capers, black olives and parsley to the frying pan. Let the sauce reduce and develop its flavours, season, then serve the salt cod with plenty of the sauce.
Step by step
|
View the step by step
|
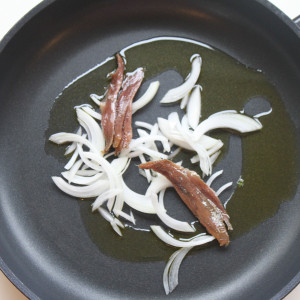
Gently fry the onion and anchovy in a little extra virgin olive oil
|
|
View the step by step
|
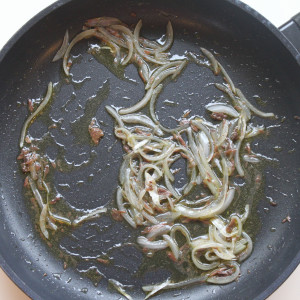
The base for the sauce is ready when the anchovy has dissolved and the onion is translucent
|
|
View the step by step
|
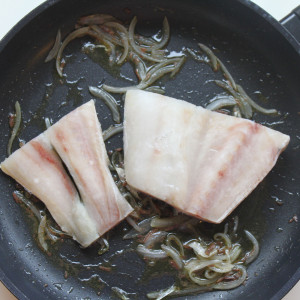
Add the salt cod and fry for 5 minutes on each side
|
|
View the step by step
|
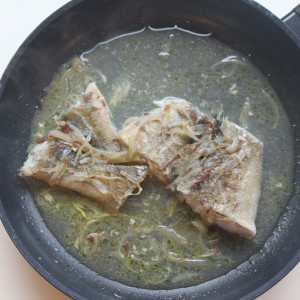
Add half a glass of white wine and continue with the cooking
|
|
View the step by step
|
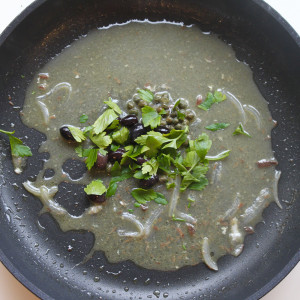
Add the olives, capers and parsley and finish cooking the sauce through
|
|
View the step by step
|
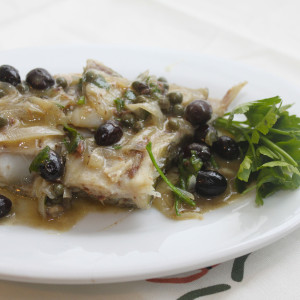
Serve the salt cod hot, and with plenty of the olive, caper and parsley sauce
|


