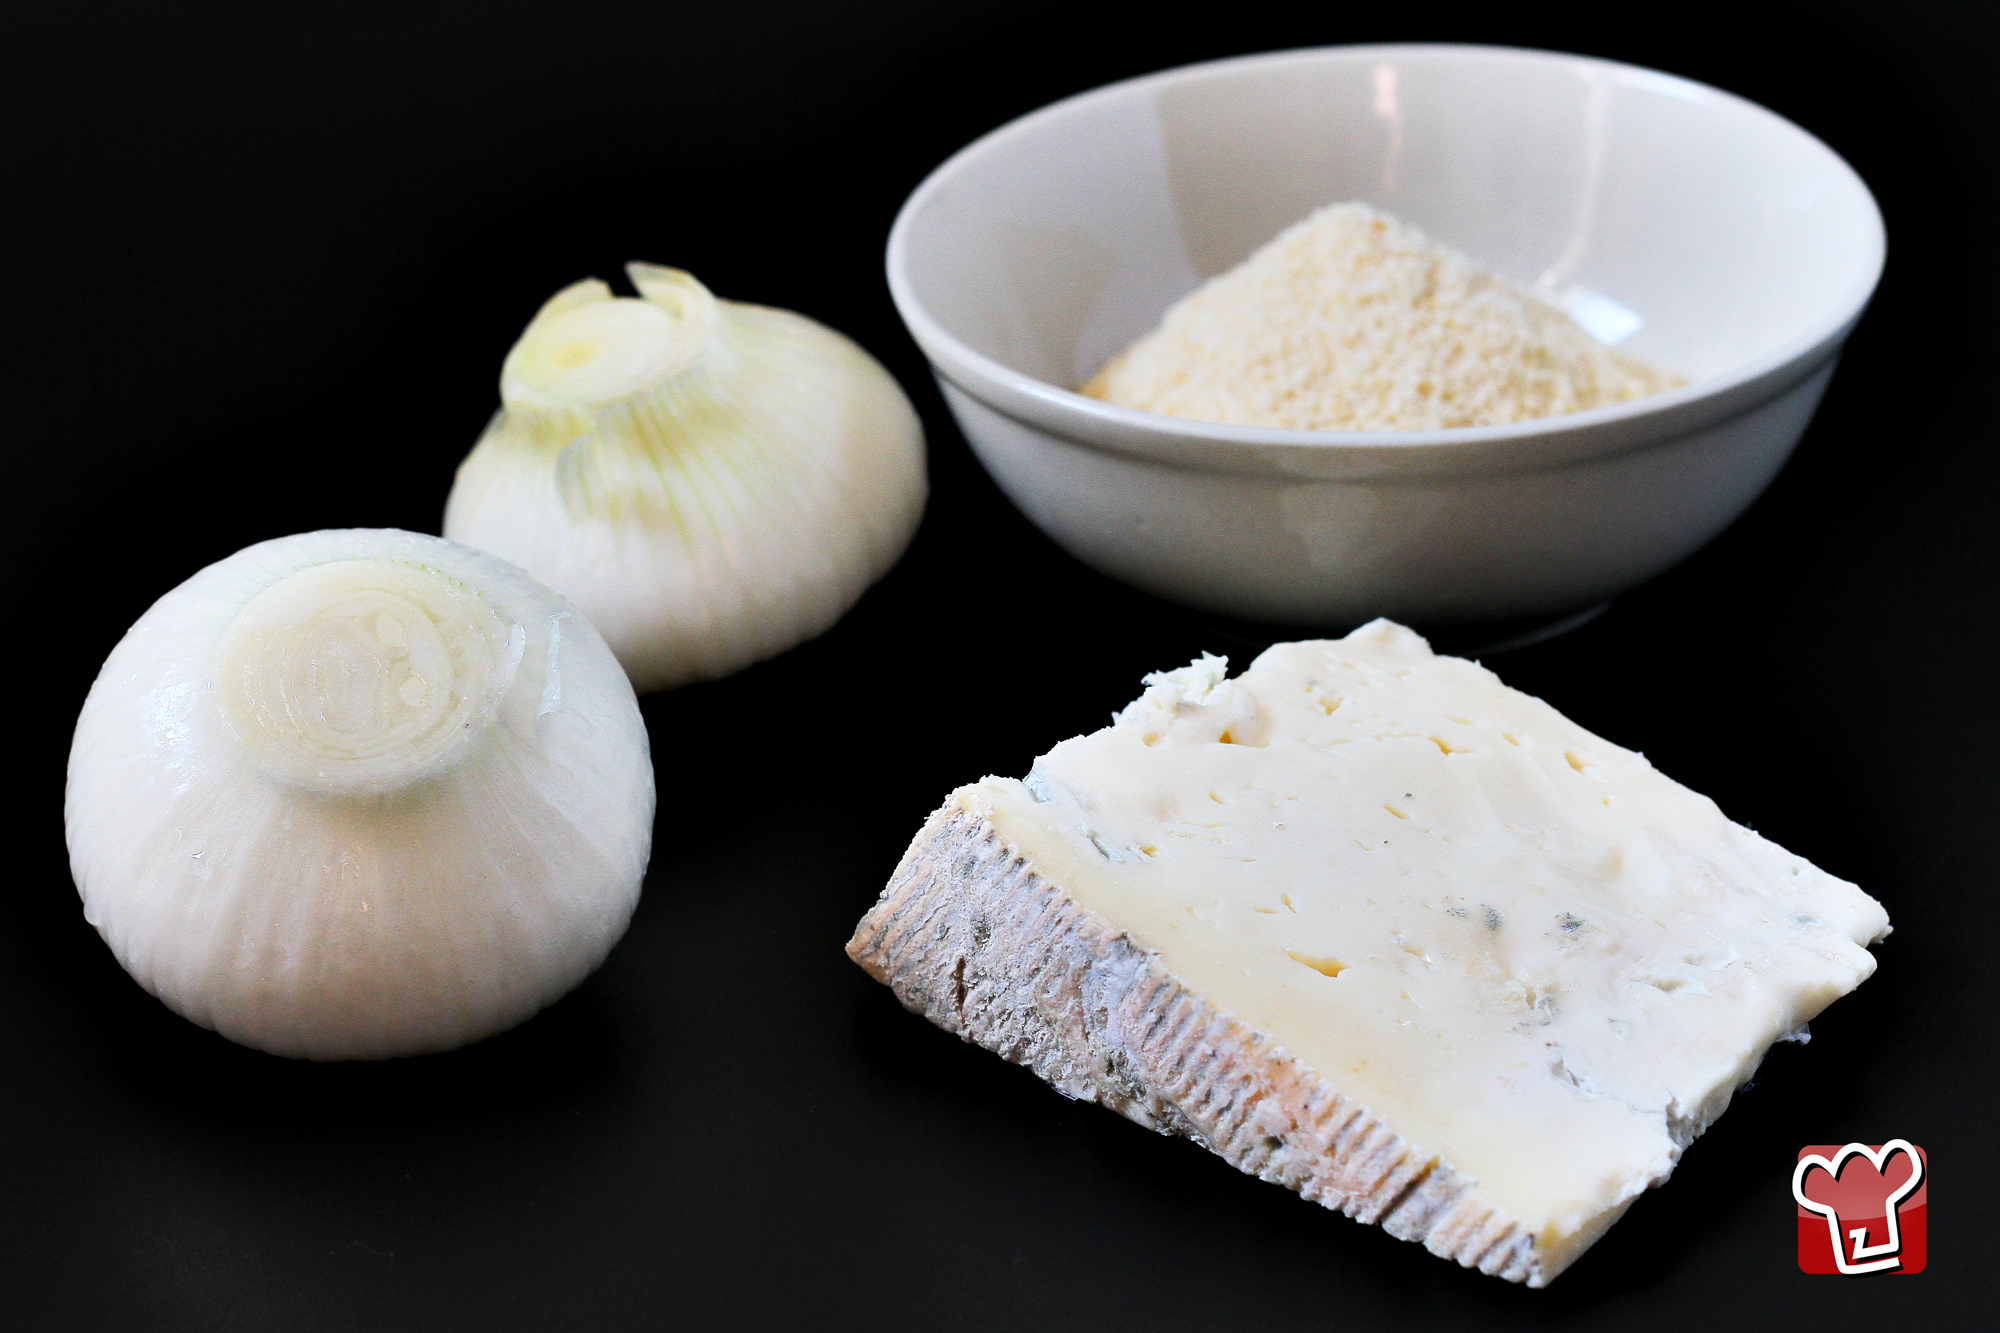
Stuffed onion
You will often have vegetarian guests to your dinner parties, and of course you want to share with them your latest creative efforts, because that touch of creativity in the kitchen offers great satisfaction, especially if the resulting dish provokes some genuine appreciation of its elements. Today, then, enrich your vegetarian repertoire with our suggestion of a delicious recipe which balances seasonal ingredients and, above all, that truly appreciates its principal component: a wonderful dish of onions stuffed with a tasty mixture of gorgonzola and walnuts. This dish can be used either as a side dish to accompany some top quality cuts of meat - perfect in this case if you don’t have vegetarian guests – or, alternatively, onions stuffed with gorgonzola and walnuts can be the star attraction of a vegetarian lunch. Are you ready for your mouth to start watering along with your guests?
Ingredients
-
onions 500 grams From Novelle
-
butter 20 grams

Send the recipe
Preparation
Peel the onions of their outer sections and roots, then scoop out the inner core to leave a hole. Blanch in lightly salted water, just to soften them a little. Prepare the filling by placing the breadcrumbs in a food processor, along with the gorgonzola, walnuts and a little of the onion hearts, some salt and pepper. Put a knob of butter in each onion then fill with the stuffing and decorate with half a walnut kernel placed on each onion. Bake at 180°C for 20 mins and then finish off with 5 mins under the grill.
Step by step
|
View the step by step
|
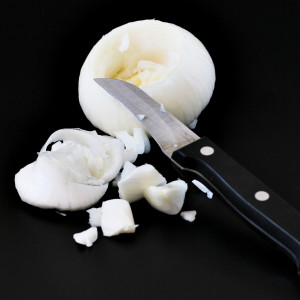
Peel the onions of their outer sections and roots, then cut out the central core leaving a hole
|
|
View the step by step
|
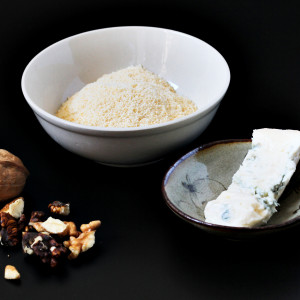
Prepare a filling with an electric hand blender, combining breadcrumbs, gorgonzola, walnuts, a little bit of the scooped out onion heart, and some salt and pepper
|
|
View the step by step
|
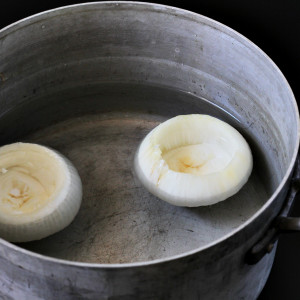
Blanch the onions lightly in salted water, just so as to soften them a little
|
|
View the step by step
|
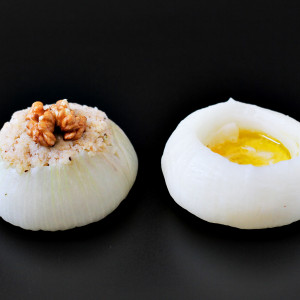
Put a knob of butter in each onion, then fill with the stuffing mixture and finish off with a walnut kernel on top
|
|
View the step by step
|
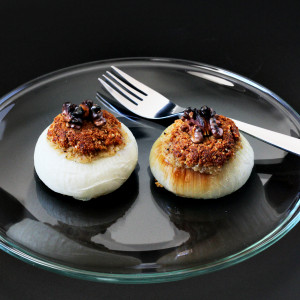
The stuffed onions are ready
|
|
View the step by step
|
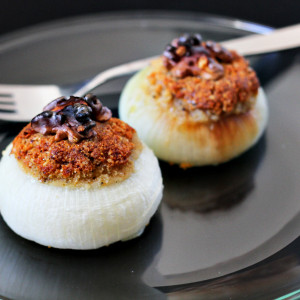
Your stuffed onions!
|


