Crumbly cake
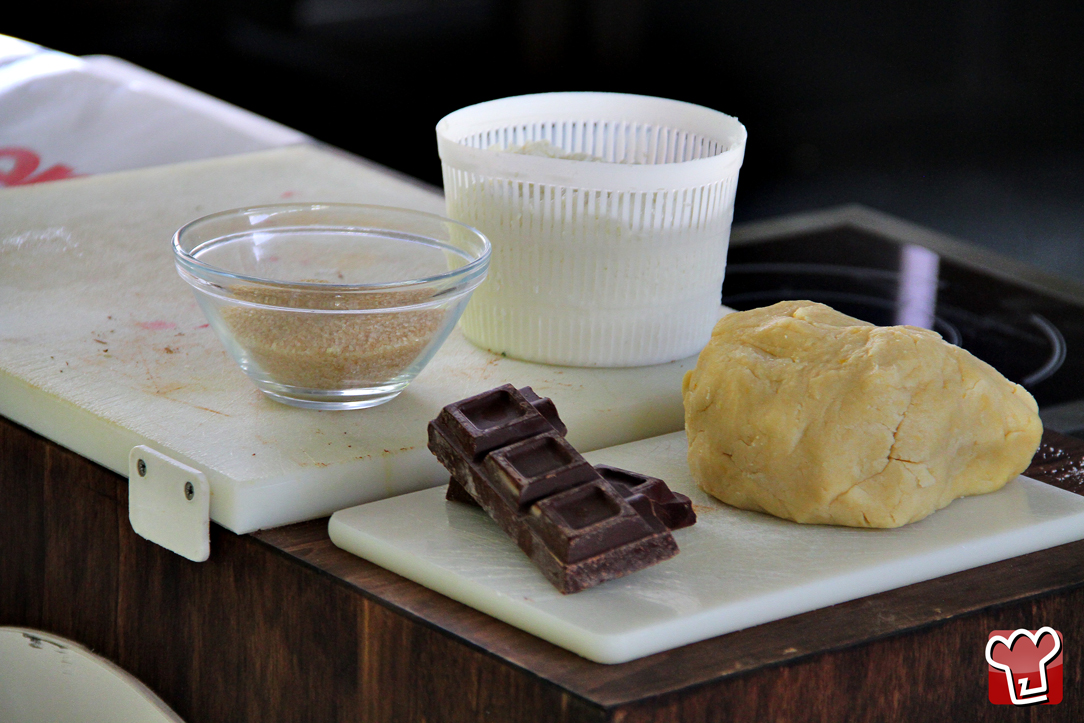
Today we offer a recipe for a really fabulous dessert, a crumbly ricotta chocolate cake which has now become a classic. Its strong point is the filling, with a combination of ricotta and chocolate which marries to perfection the sweetness of the chocolate with the lightness and creaminess of the cheese. The cake can be enjoyed in many different ways: for breakfast, as a snack served with a cup of tea or coffee, or to make a great impression as a dessert at a lunch or dinner party with friends. This is the perfect cake for children, who will get great pleasure devouring the crumbly topping! With our chef’s recipe, and the video and photos which help you step-by-step, you won’t make any mistakes and will end up with a perfect crumbly ricotta and chocolate cake.
Ingredients
-
"00" flour 300 grams
-
sugar 100 grams
-
butter 100 grams
-
salt

Send the recipe
Preparation
Mix the flour with the sugar, butter, salt, vanilla, baking powder and egg and work by hand to form a crumbly mixture. For the filling, combine the ricotta with the sugar and the chocolate, chopped into flakes. Line the bottom of a cake tin with baking parchment and add three-quarters of the crumbly dough. Cover this with the ricotta and chocolate mixture and complete with more of the crumble. Bake for 30 minutes at 180°C and then another 10 minutes with the heat only from below. Complete with some icing sugar.
Step by step
|
View the step by step
|
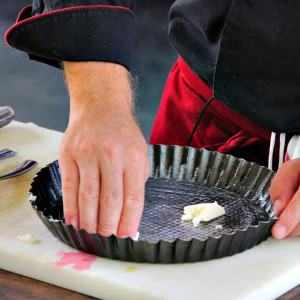
Butter a cake tin
|
|
View the step by step
|
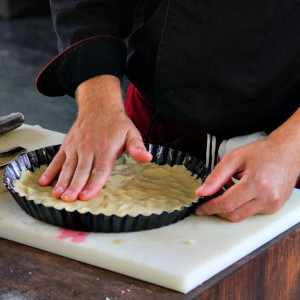
Roll out by hand the shortcrust pastry, not too thickly
|
|
View the step by step
|
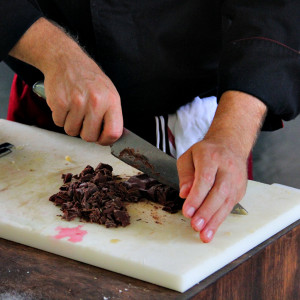
Coarsely chop the chocolate into irregular pieces
|
|
View the step by step
|
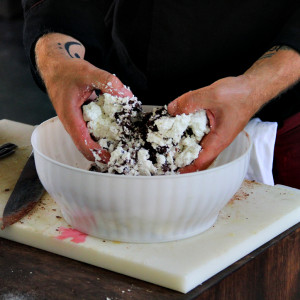
Mix the chocolate with the ricotta and the brown sugar to make the filling
|
|
View the step by step
|
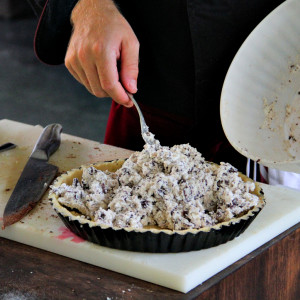
Fill the cake base with the filling
|
|
View the step by step
|
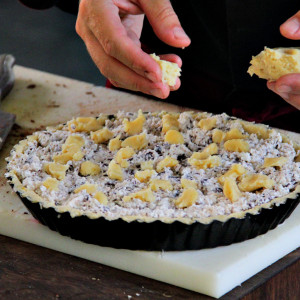
Sprinkle the rest of the shortcrust pastry over the top uniformly, having previously made the pastry into little pieces. Place in the oven to bake
|
|
View the step by step
|
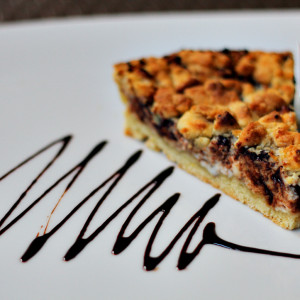
Your cake is ready, both soft and crunchy at the same time!
|


