Romagnola Italian flatbread
Italian flatbreads have ancient origins: it was a substitute for bread for land workers, because compared to ordinary bread, flatbread was more filling and kept better. From the dining tables of the peasants of old, these flatbreads have now arrived on our supermarket shelves, where today it is rightly considered a specialty of the Romagna region. Today we are going to teach you how to make them. To explain how to make the basic dough for these flatbreads we have called on Mrs. Lella to be our chef, a genuine citizen of Romagna - then you can fill and eat them in any way you wish. Please note that the flatbread is excellent filled both with sweet and savoury ingredients, or alternatively you simply eat it instead of bread, perhaps combining it with a lovely, fresh summer salad. Are you ready to add a touch of joy to your dining table, especially when you have guests with healthy appetites who love good, wholesome food?
Ingredients
-
milk 400 millilitres
-
Flour 1000 grams
-
salt 20 grams

Send the recipe
Preparation
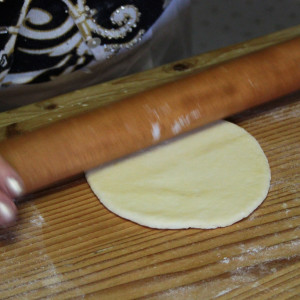
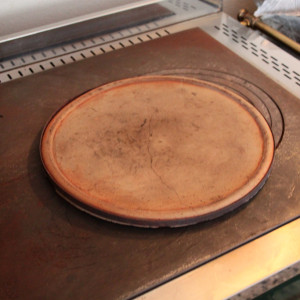
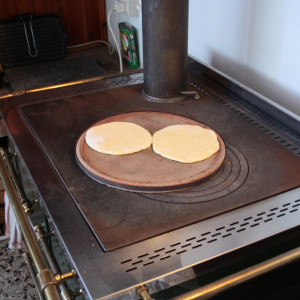
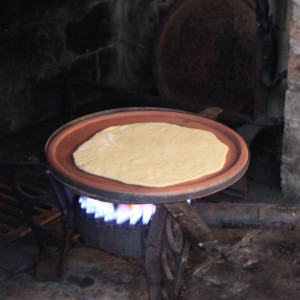
Combine all the ingredients (except the sparkling water) in a bowl. Mix well until the dough firms up. Now add the water and continue to knead until the dough is smooth. Remove the dough from the bowl and knead vigorously for 10 minutes until the surface is very smooth to the touch. Let it stand for 15 minutes, then work it again into the shape of a salami. Divide the dough into 12 balls of equal weight. Leave the balls to rest, covered with a clean cloth, for 30 min. Now roll out the flatbread: you can do this to a lesser degree and leave it about 1cm thick in traditional Emilia Romagna style, or make them thinner and wider. Now it’s time to cook them: Italian flatbreads, according to tradition, should be cooked on a large clay hotplate supported on a cooker or stove. There are now metal hotplates readily available, which also very suitable for cooking flatbreads. Cook the flatbread for about 5 minutes per side if you want to eat it right away (be careful that the flame is not set too high); if you want to prepare them in advance and then keep them in the freezer, cook them until just done, let them cool and then freeze them. This allows you to finish off the cooking when the flatbreads are defrosted, simply by warming them in a frying pan. These flatbreads are great with meat or mature cheeses!
Step by step
|
View the step by step
|
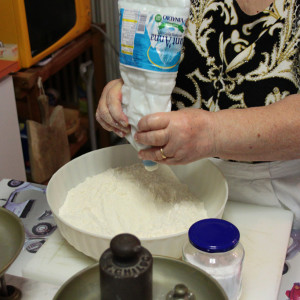
Add the lard to the flour
|
|
View the step by step
|
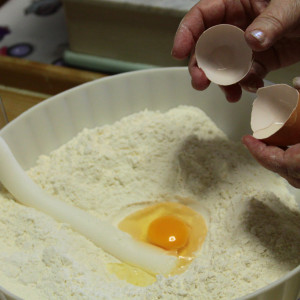
Add an egg to the bowl with the lard and flour
|
|
View the step by step
|
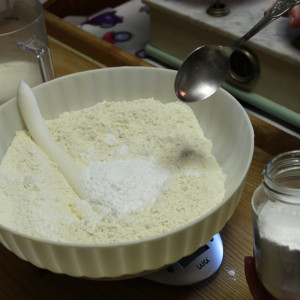
Add the baking powder
|
|
View the step by step
|
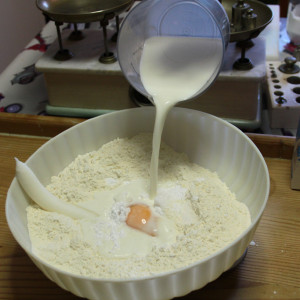
Add the fresh milk to the mixture
|
|
View the step by step
|
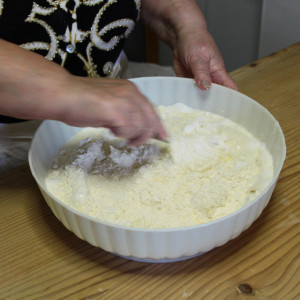
Mix until you obtain a well amalgamated dough
|
|
View the step by step
|
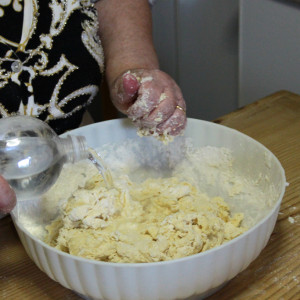
Add a few drops of fizzy water and mix until you obtain a smooth ball
|
|
View the step by step
|
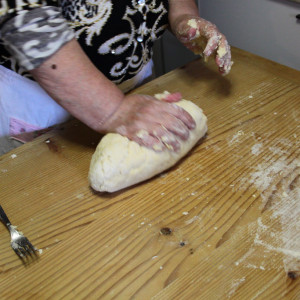
Knead vigorously until the ingredients are well combined
|
|
View the step by step
|
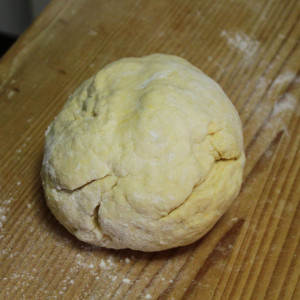
Here is the flatbread dough
|
|
View the step by step
|
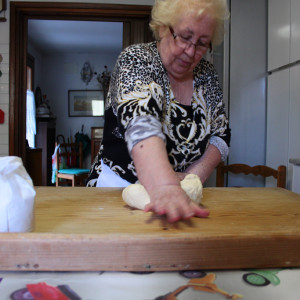
Knead again vigorously
|
|
View the step by step
|
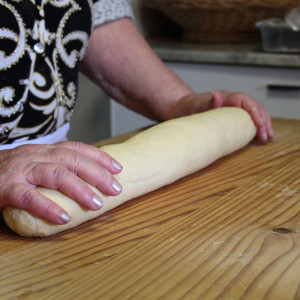
Knead and elongate the dough until it is in the shape of a cylinder
|
|
View the step by step
|
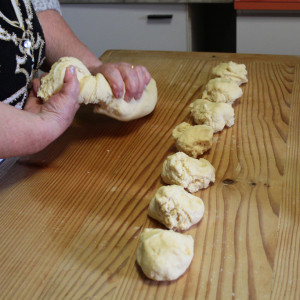
Divide the dough into a number of smaller balls
|
|
View the step by step
|
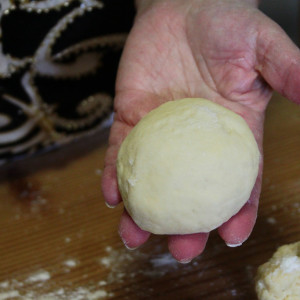
Knead the balls once again until they are smooth and round
|
|
View the step by step
|
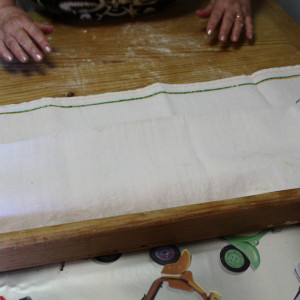
Leave the balls to rest under a clean cloth for 30 minutes
|
|
View the step by step
|
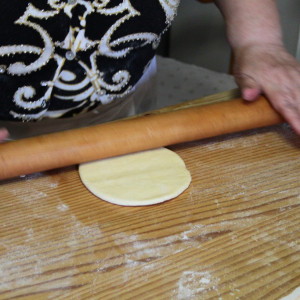
Roll out the balls of dough until they form the shape of a flatbread
|
|
View the step by step
|
Here is the flatbread almost completely rolled out
|
|
View the step by step
|
This is a terracotta hotplate, just right to cook the flatbreads in the traditional style
|
|
View the step by step
|
Heat the hotplate well over a heat source and then cook the flatbreads until they are browned on both sides
|
|
View the step by step
|
This flatbread has been rolled out a bit more, making it thinner and wider
|
|
View the step by step
|
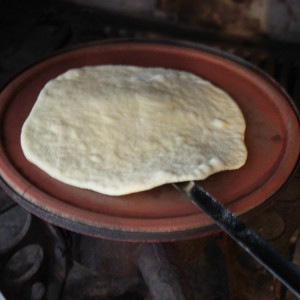
When the flatbread starts to form bubbles, it’s time to turn it over and cook the other side
|
|
View the step by step
|
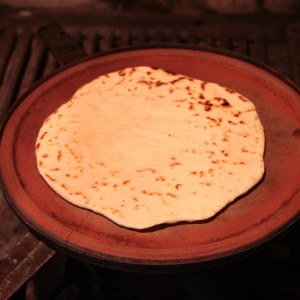
Here is how a well cooked flatbread should look
|
|
View the step by step
|
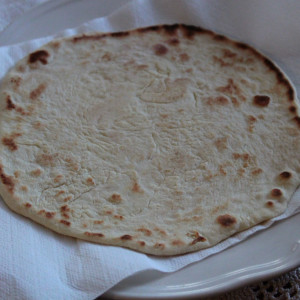
The romagnola flatbread is ready, in the traditional style. You can eat it with various types of salami or cheese!
|

