Romantic cheesecake
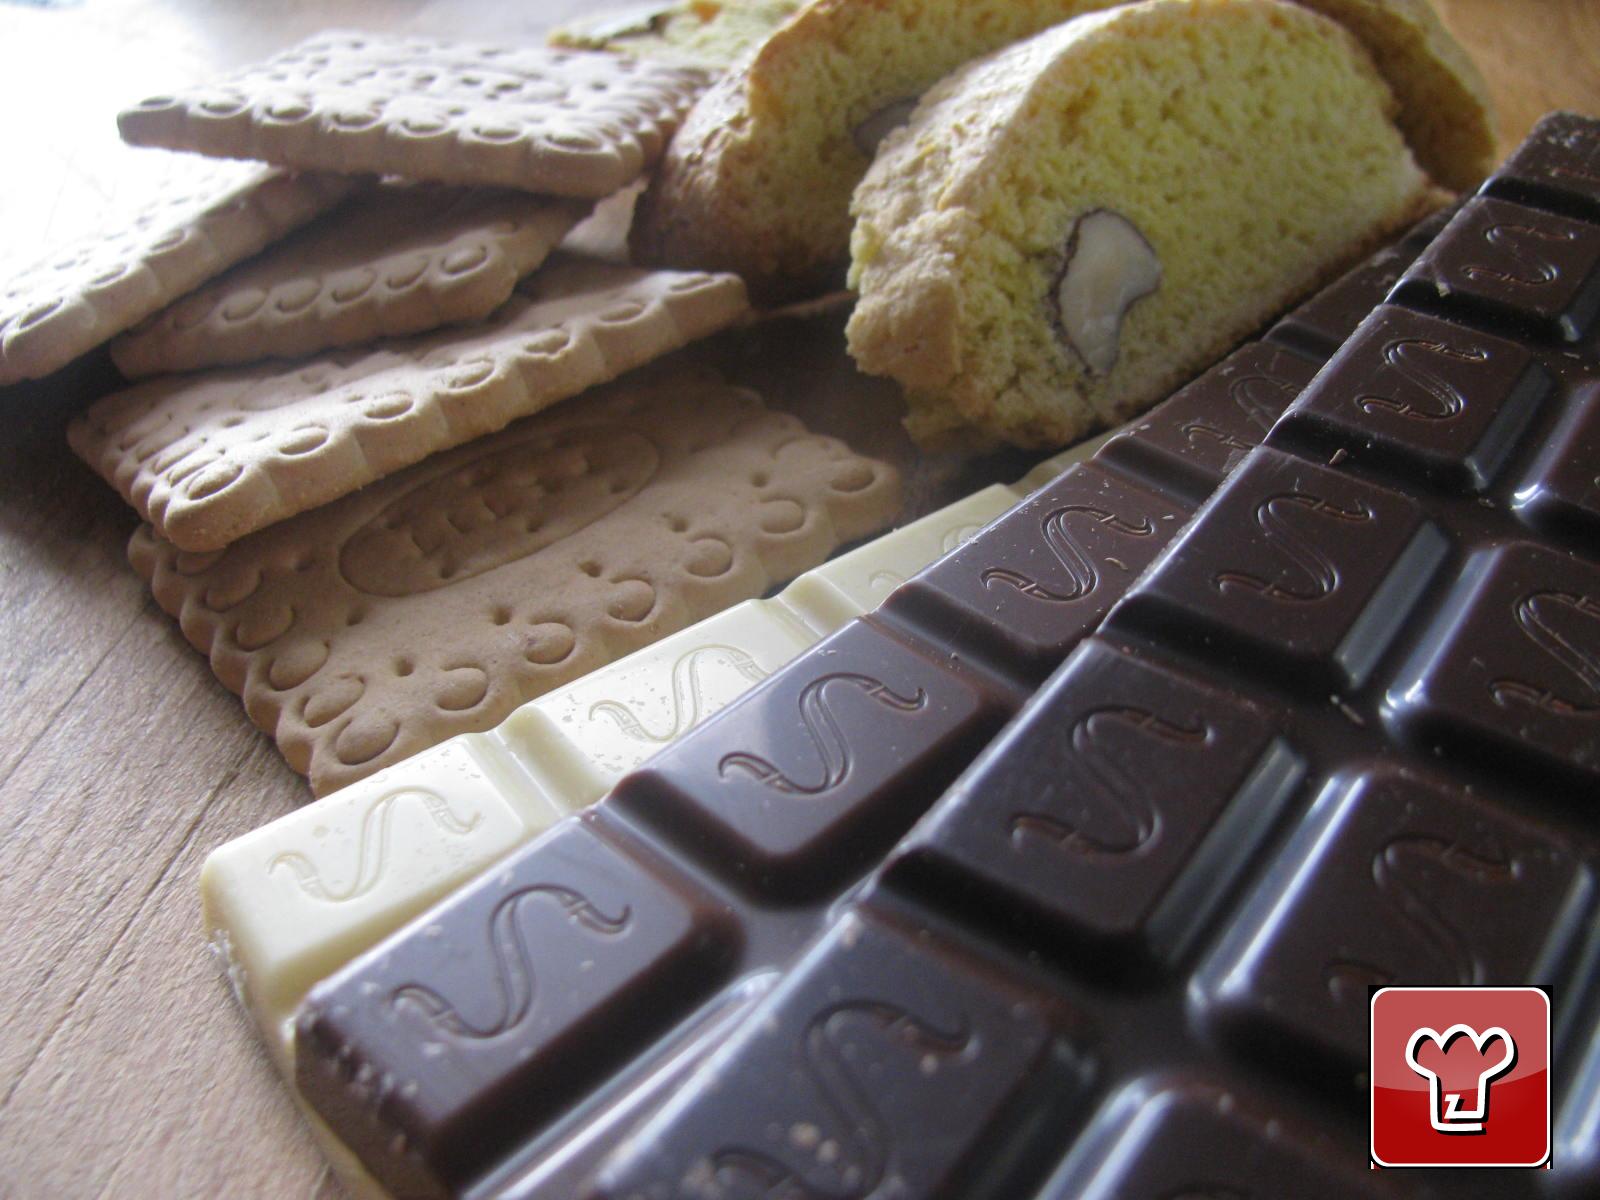
This 3-layered S.Valentine cake is elegant and romantic! It's a great cheesecake, made up of dark chocolate, white chocolate and milk chocolate. Considering that the cheesecake is a cold dessert, this recipe is good not only for S. Valentine, but for summer too.
Ingredients
-
butter 50 grams
-
milk 150 millilitres
-
powdered sugar 9 tablespoons of icing sugar

Send the recipe
Preparation
Finely grind the biscuits, mix with melted butter, one spoon of sugar and mix well. Press mixture into cake tin. Let cool down into the fridge. Soak into cold water 15 gr of gelatine. Melt in a bain-marie 100 gr of dark chocolate with 50 ml of milk. Add the gelatine and mix well. Apart, mix 170 gr of yogurt, 70 gr of cheese and 3 tablespoons of icing sugar. Add this mixture to the chocolate, then pour it onto the base of the cake. Set aside to cool down. After 2 hours, repeat the same procedure using the white chocolate; pour the white chocolate cream over the cake, wait 2 hours and then do the same with the milk chocolate. Once all the layers are done, leave the cake to cool down for 12 hours more. Decorate as you like it and serve it.
Step by step
|
View the step by step
|
Grind cookies in a food mixer
|
|
View the step by step
|
Grind finely your cookies
|
|
View the step by step
|
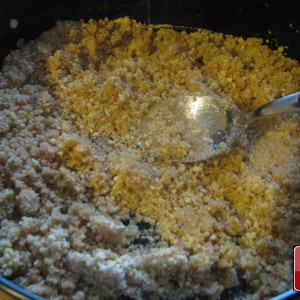
Pour in the melted butter and combine well, then pour the crumbs in a tin and smooth around with the back of a spoon
|
|
View the step by step
|
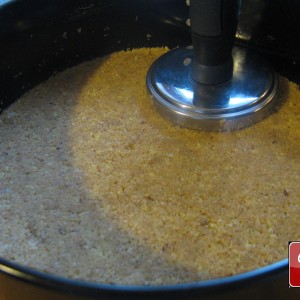
Press the base of the cheesecake to get an even finish
|
|
View the step by step
|
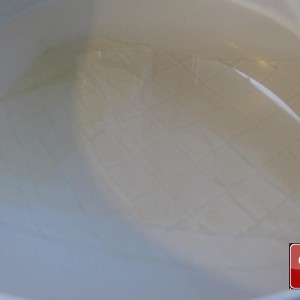
Soak 3 sheets gelatine in a bowl with cold water
|
|
View the step by step
|
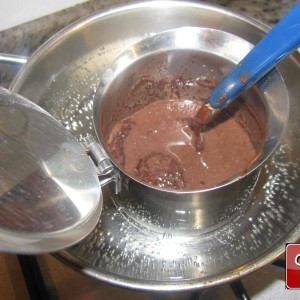
In a bain marie, melt chocolate with 50 ml of milk. Once melted, add soaked gelatine and mix softly
|
|
View the step by step
|
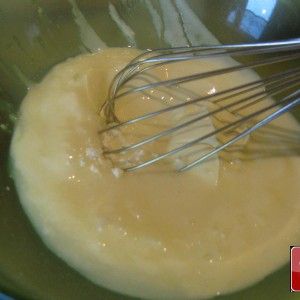
In the meanwhile, mix 170 gr of yogurt, 70 gr of cheese and 3 tablespoon of icing sugar. Add some dark sugar and mix well
|
|
View the step by step
|
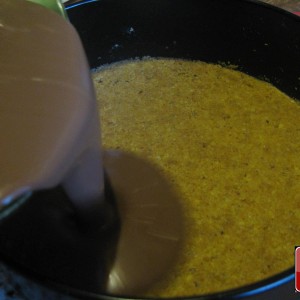
Pour the mixture over the base and let cool down into the fridge. After 2 hours, do the same with the white chocolate (170 gr of yogurt, 70 gr of cheese, 3 tablespoons of icing sugar). Pour the white chocolate cream over the previous one and let cool down again.
|
|
View the step by step
|
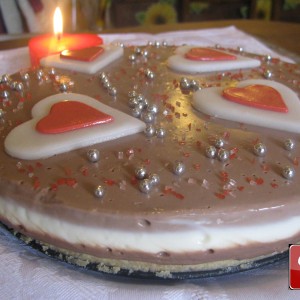
Before eating, decorate the cake as you like.
|
|
View the step by step
|
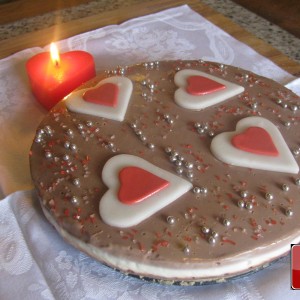
After decorating, you can serve it
|

